You will be adding the document to the MEDIA LIBRARY.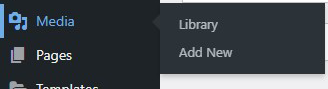
Hover over “Media” in the left side menu and choose “Add New” from the slide-out menu.
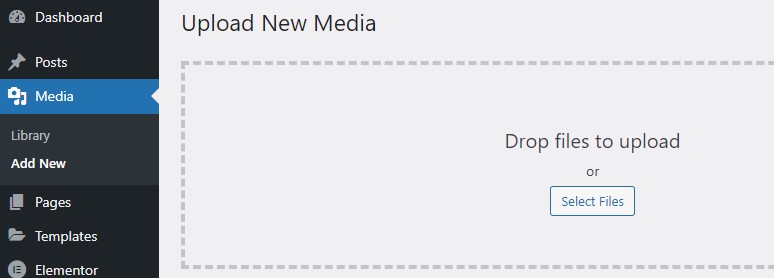
In the Upload New Media section click on the “Select Files” button.
Locate and select the file you wish to upload and click “open”. The file will be uploaded.
FIRST LET’S GET THE URL OF THE DOCUMENT
The first thing you will want to do is open another Tab in your browser so that you have 2 sets of admin pages open.
The easiest way to do this is on the current browser tab for the admin page, “right-click” the tab and choose “Duplicate”.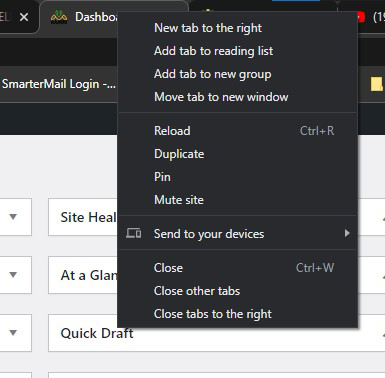
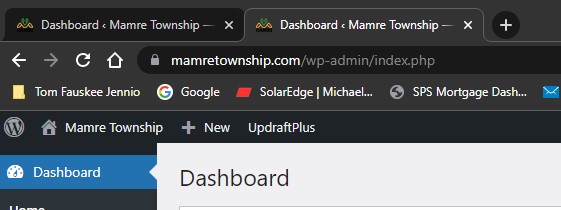
This will create a duplicate tab of the admin page.
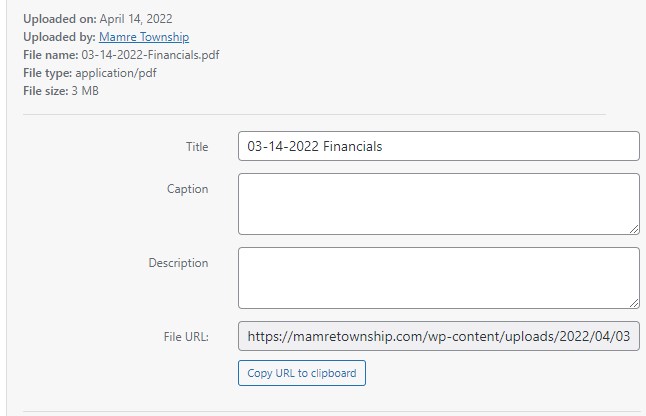
In one of the tabs, you will open the Media Library. Select the file you just uploaded.

On the right-hand side of the page, you will find a “Copy URL to clipboard” button. Click it to copy the URL of the document.
Now that the URL is copied let’s leave this browser tab and click on the other tab with the other admin page. We may need to come back to this tab later so don’t close it. Just click on the other tab.
LET’S CLONE A POST
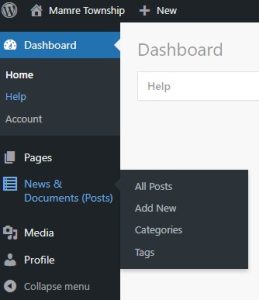
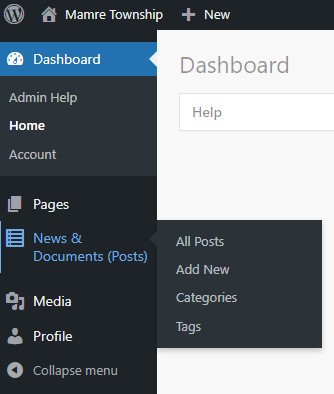
Now that we are in the other browser tab hover over the posts on the left menu and choose “All Posts”
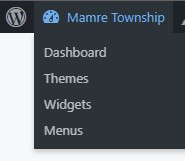
Note: If you do not see the menu on the left choose “Dashboard” from the dropdown menu from “Mamre Township”
On the Posts page, hover over the type of post you wish to clone. (Posts are categorized by NEWS, FINANCIALS, MINUTES, and ANNUAL FINANCIALS.)
When hovering choose “Clone”

You should get a new post that is in “Draft Mode”
Hover over the new post and choose “Edit With Elementor”.
PASTE THE URL
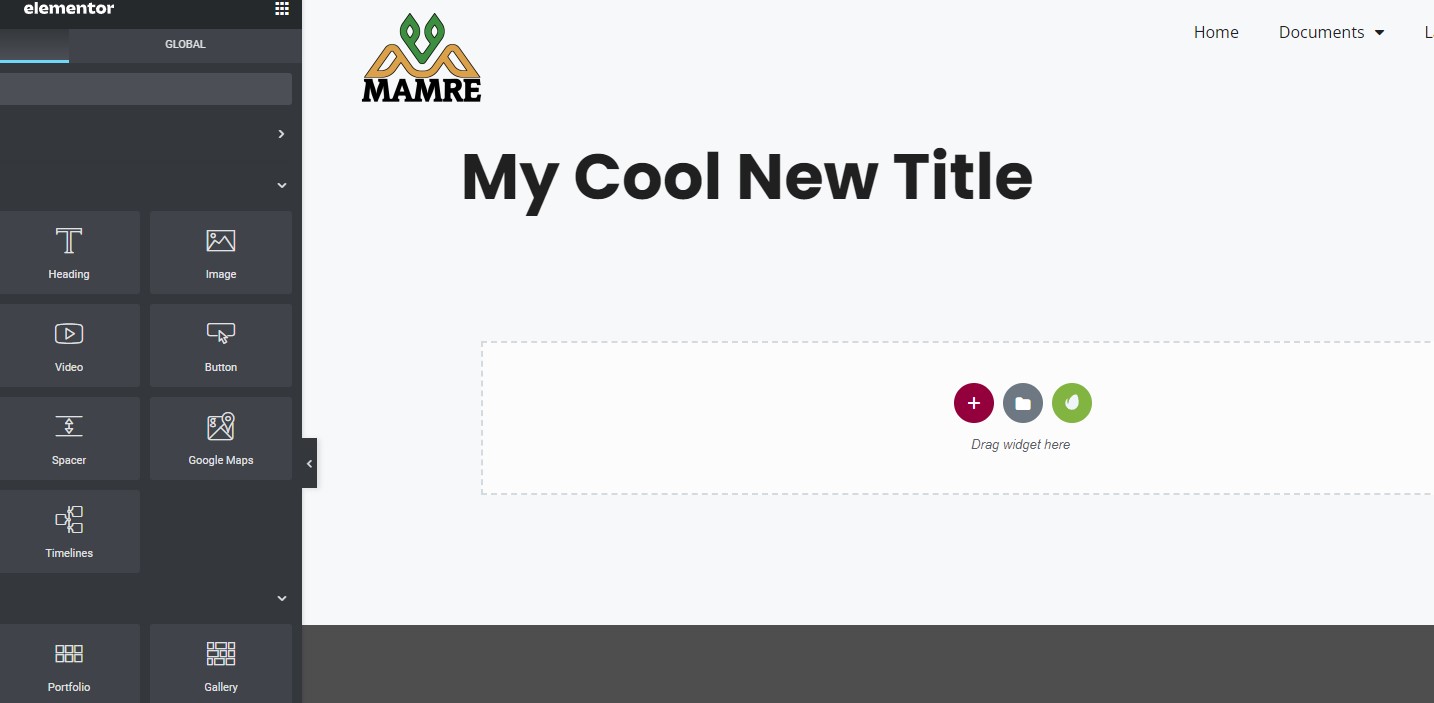
When the Elementor Edit Page opens click on the button in the page to edit it.
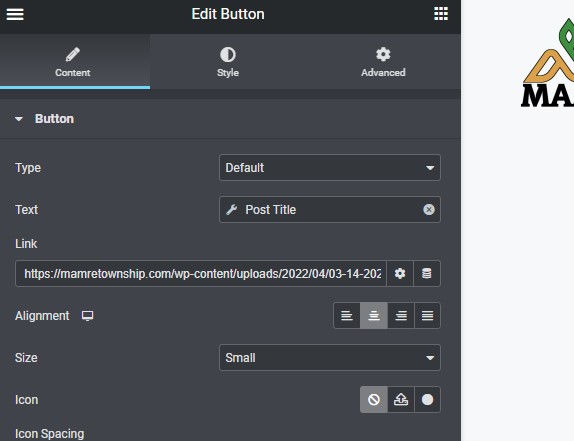
In the Link section on the left get rid of the URL selecting it all and deleting it. Then “right-click” in the box and choose “Paste”. This should paste in the URL that you copied earlier from the other browser tab. If the paste does not work just click over to the other browser tab and repeat the “Copy URL” button and then come back and paste it into the Link spot.
LET’S RENAME THE POST
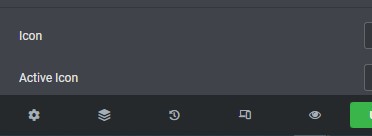
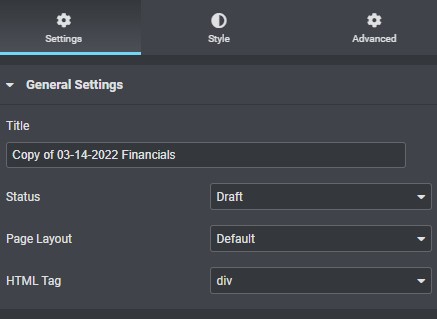
Now we can rename the post and publish it to the site. Click on the settings (cog) in the bottom left corner.
Rename the post to the correct title needed.
Publish the page and preview it. Click on the green “Publish” button

You can then click on the eye icon beside the green button to preview the page.
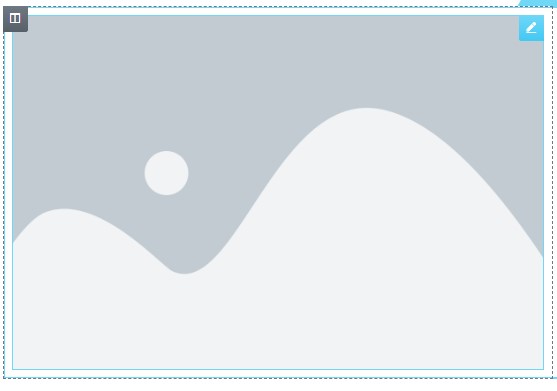
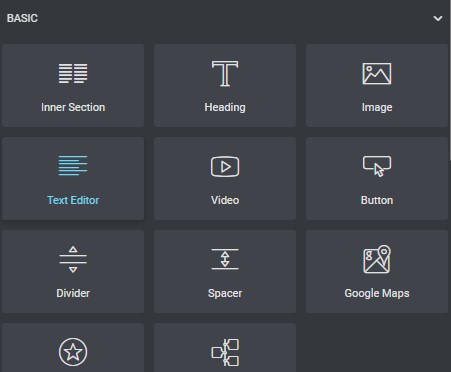
Images can be added by simply clicking and dragging the image widget to the area you want it to appear.
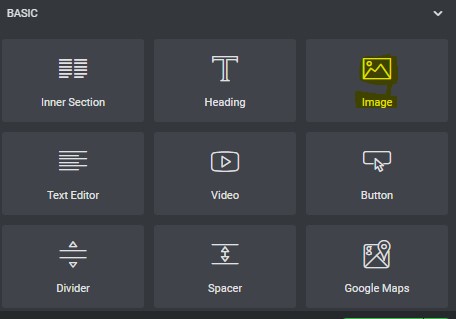
The image will take up the entire area you drag it into. This can be a column or an entire section.

A default sample image is placed to show what the image will look like. If the edit section for the image is not already showing on the left side panel then click on the image or the small blue edit button in the top right corner of the sample image.
The edit panel for the image shows the sample image and can be replaced by clicking the image and choosing an image from the media library.
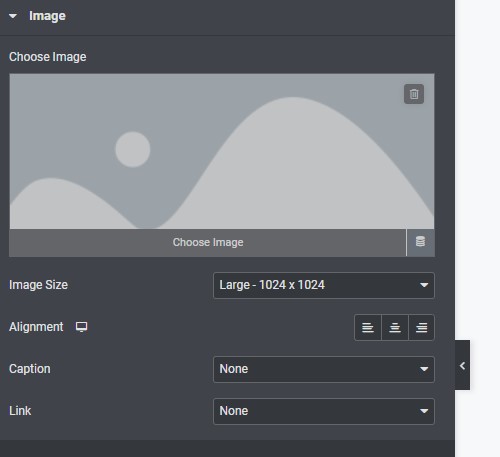
Also, you can upload an image by choosing the “Upload Files” tab.
You can also choose the “Envato Elements” tab to search for images that can be inserted for free.

Text editor widgets have a Word-like way of having images added inside them.
This method is not recommended but is still possible. Once the text widget is added to the page a sample text is added automatically. In the edit area, you will see the sample text. This is where you will add any images.
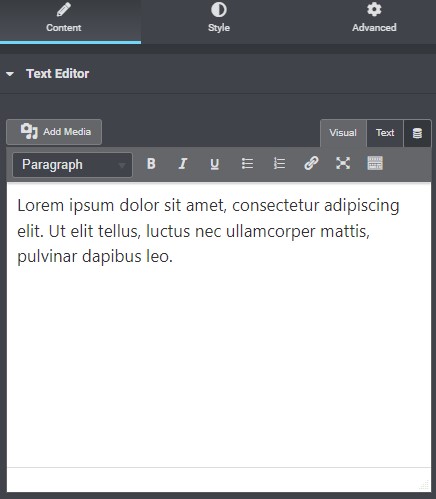
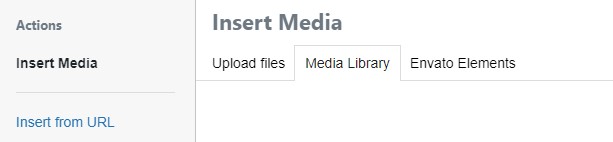
Start by clicking into the text area where you wish the image to appear. Then, when your cursor is in the correct place, click the “Add Media” button above the text area. The rest of the process is just like adding an image anywhere else.
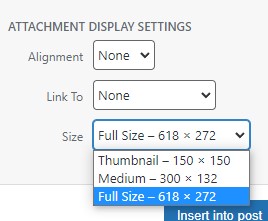
Note: The image size can be chosen before you insert it by choosing a size in the media library. You can find this setting near the bottom right corner just above the “Insert Into Post” button.
The rest of the formatting is like it is in a word document. Click on the image in the edit area to see options for formatting.
LET’S START FROM FRESH!
Navigate to “All Posts” in the “News & Documents section of the left menu.
Sort the list of posts by clicking on the top of the “All Categories” button to show a dropdown of categories. Choose “News”. Then click the “Filter” button.
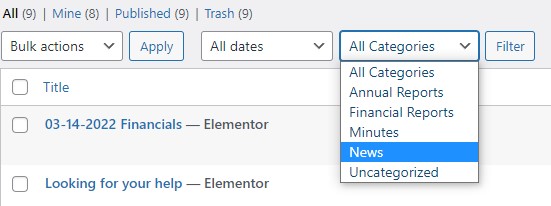
This will display just a list of posts with the category of news.
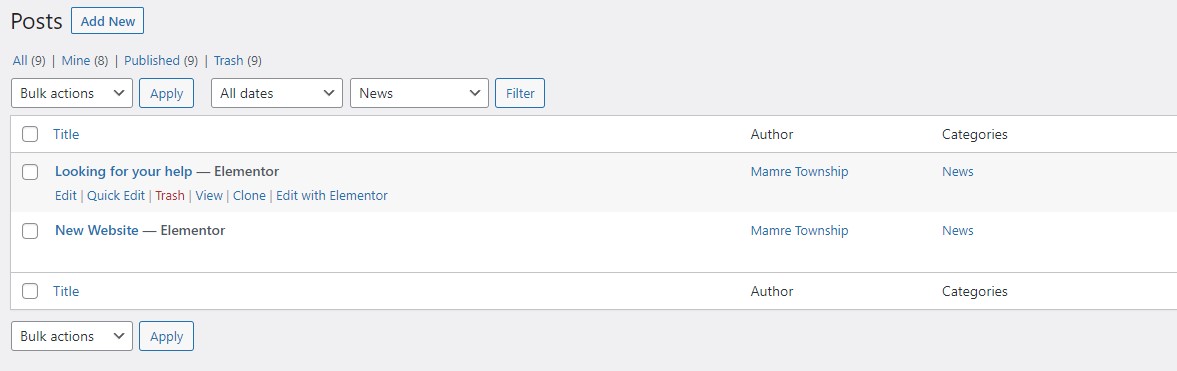
You can either use the “Add New” button at the top of the page or “Clone” an existing post to get maintain the formatting.
LET’S ADD A NEW “NEWS” POST
After clicking the “Add New” button you will be taken to a default WordPress post page.
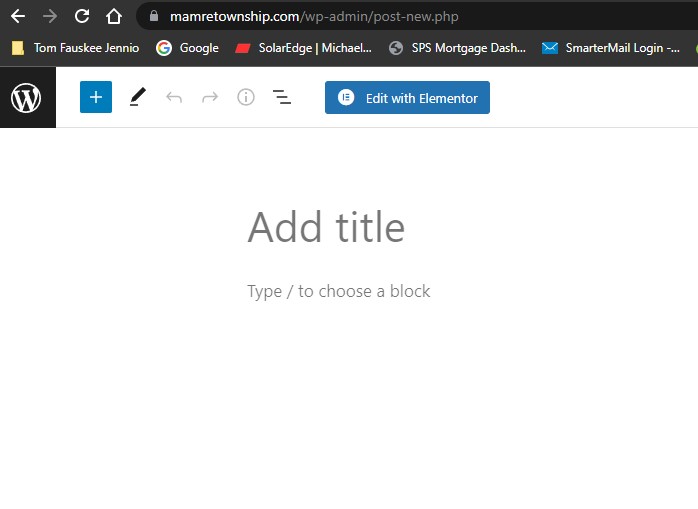
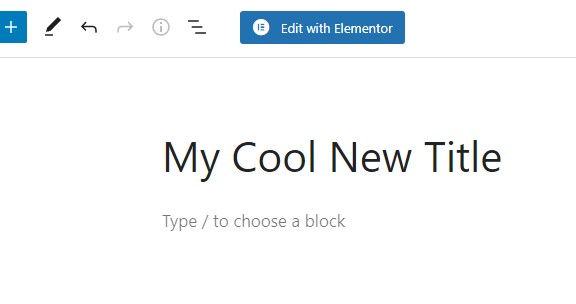
Add a title you want your post to say and then click on the “Edit With Elementor” button.
Elementor will start to load.
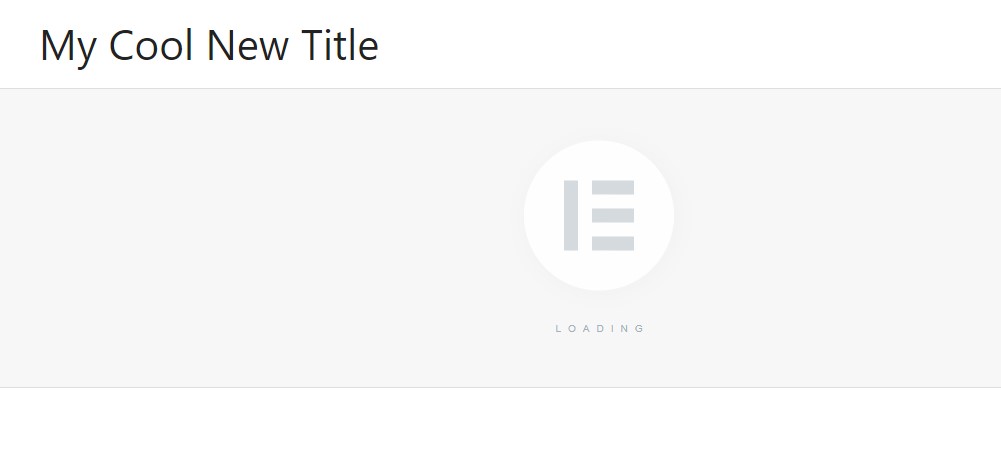
And you will then be able to start creating your new post.
OK LET’S CLONE A POST
First, click on the “Clone” link when hovering over the post you wish to clone.
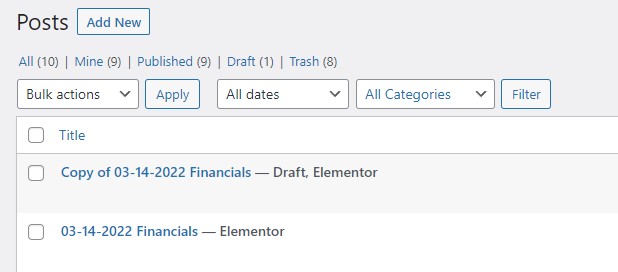
This will create a duplicate post that is in “Draft Mode”. It will start with the title “Copy of …”
Next click on the “Edit with Elementor” link. You can now change the duplicate post with your new post content.
SOME NOTES:
To change the title from “Copy of…” you will need to click on the settings icon in the bottom left of the edit panel.
Then, when your finished, click on the green publish button.
OK LET’S CLONE A POST
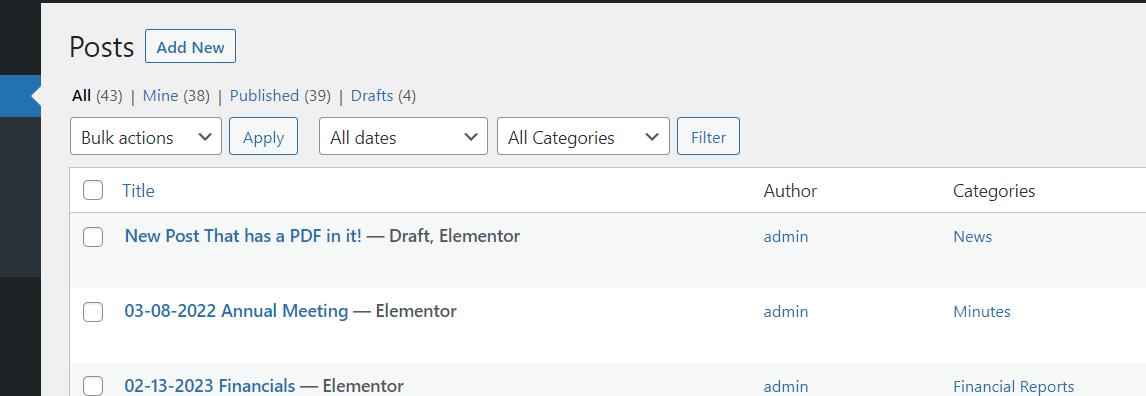
We have created a “DRAFT” sample Post titled “New Post That Has A PDF In It!”
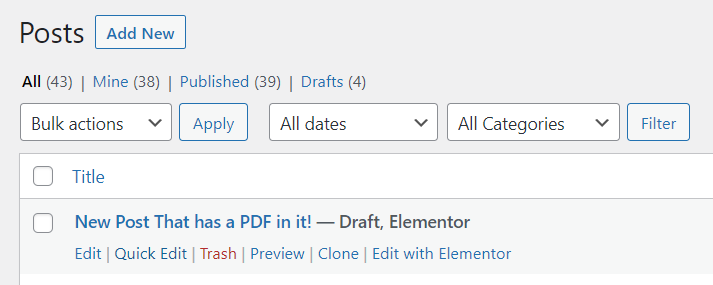
First, click on the “Clone” link when hovering over this post.
This will create a duplicate post that is in “Draft Mode”. It will start with the title “Copy of …”
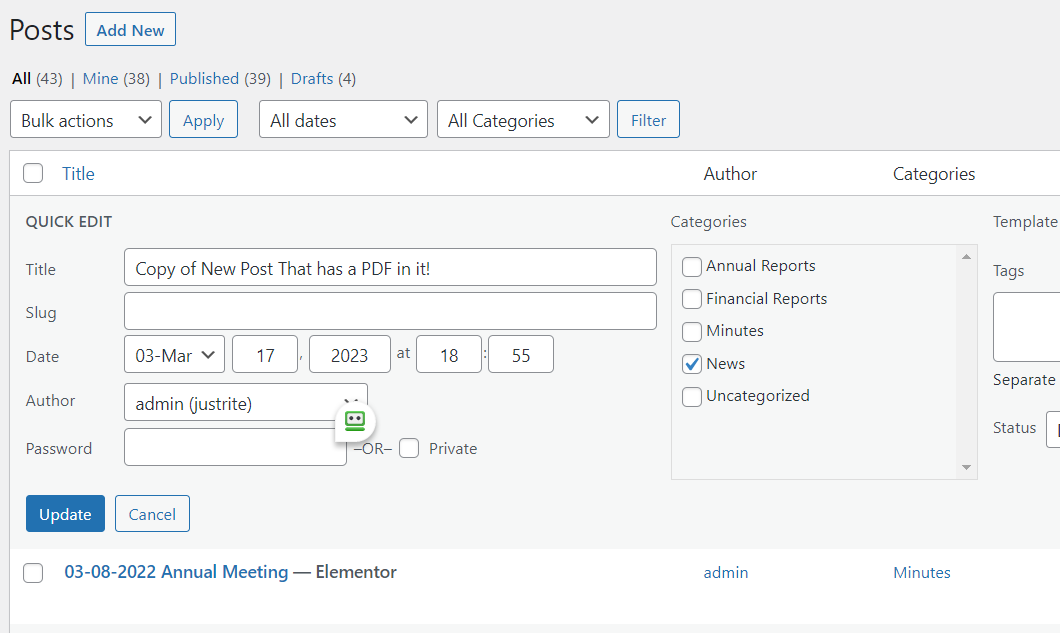
Next Lets change the title before we make any changes. Click on “Quick Edit” to open the edit section.
Rename the Title of the Post as you wish it to read. Then click “Update”. The edit section will close and you will see your newly titled post in the list of posts.
Let’s Edit This New Post:
To open the newly titled post click on the “Edit with Elementor” link in the Post that you just retitled … NOT the one you cloned from. You can now change the duplicate post with your new post content.
The image below is what the cloned Post will look like . Your new title will show in place of the one below. There are general directions in the post itself.
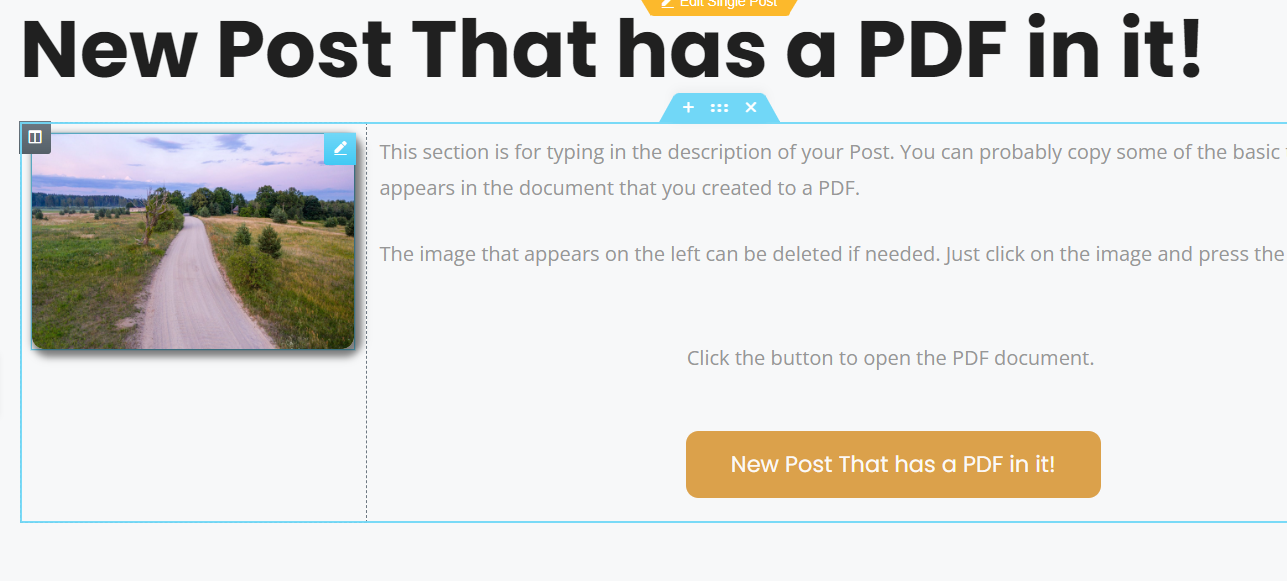
The Button:
The button is where the PDF is located. Click on the button to open the edit section on the left. Look for the “Link” part of the section. There is a sample link already in place.
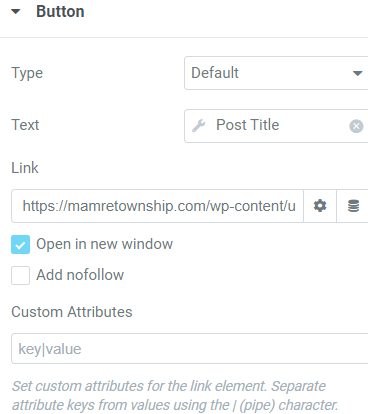
We are going to get the link “URL” from the PDF that you wish to link the button to.
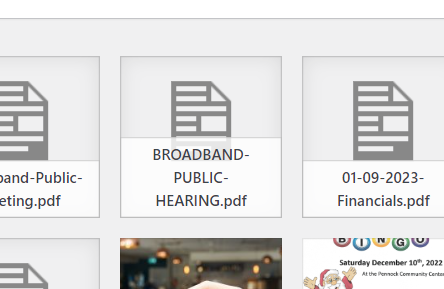
In a different browser tab, open a different website admin page and goto Media.
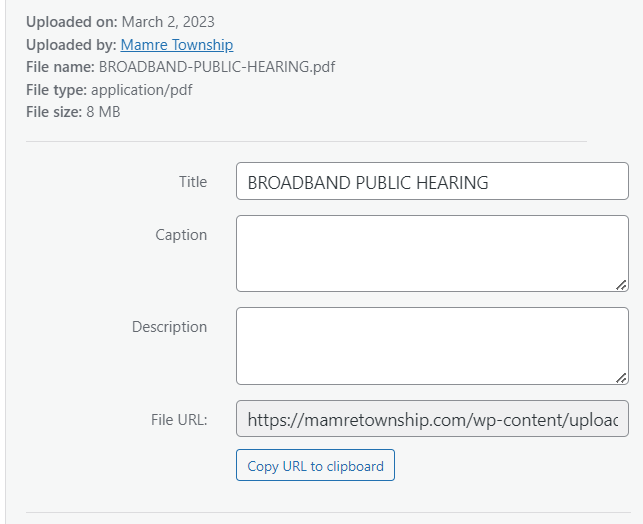
Upload the PDF if you have not done so. If you have, locate and click on it. In the popup page for the PDF you will see the section on the right side has a small button to “Copy URL to Clipboard”. Click on that button.
Go back to the tab that has the Post and click in the link section and delete the sample link and paste in the new URL by right clicking and chosing “Paste” or use the “CTRL + V” keyboard shortcut.
This paste the new link into the section.
“Update” or “Publish” the Post when you are ready.
SOME NOTES:
If you need to change the title later you can click on the settings icon in the bottom left of the edit panel.
Then, when your finished, click on the green publish button.